Essential Steps for Troubleshooting a Laptop That Stays Uncharged, Even with the Power Cord Attached
Essential Steps for Troubleshooting a Laptop That Stays Uncharged, Even with the Power Cord Attached
Quick Links
- Check Your Laptop Adapter
- Connect the Laptop Adapter to a Different Socket
- Use the Original Charger
- Examine the Charging Port and Pin
- Allow Your Laptop to Cool Down
- Download Any Available BIOS Update
- Reinstall the Battery Drivers
- Test for a Defective Battery
Key Takeaways
- If your laptop isn’t charging even when it’s plugged in, make sure the power cord is firmly connected to the adapter brick. If that doesn’t work, try plugging the charger’s adapter plug into a different outlet and carefully examining the charging port and pin.
- You should also make sure you’re using the original charger that came with your laptop instead of a third-party charger.
- If you continue to have the problem, update the BIOS and reinstall the battery driver.
Is your laptop not charging even though you’ve plugged it in? While most of the time, this situation occurs when the charging adapter isn’t properly connected, other times outdated BIOS or corruption in the battery driver could be the possible culprit. Whatever the reason may be, here are fixes you can try if your laptop is plugged in but not charging.
1. Check Your Laptop Adapter
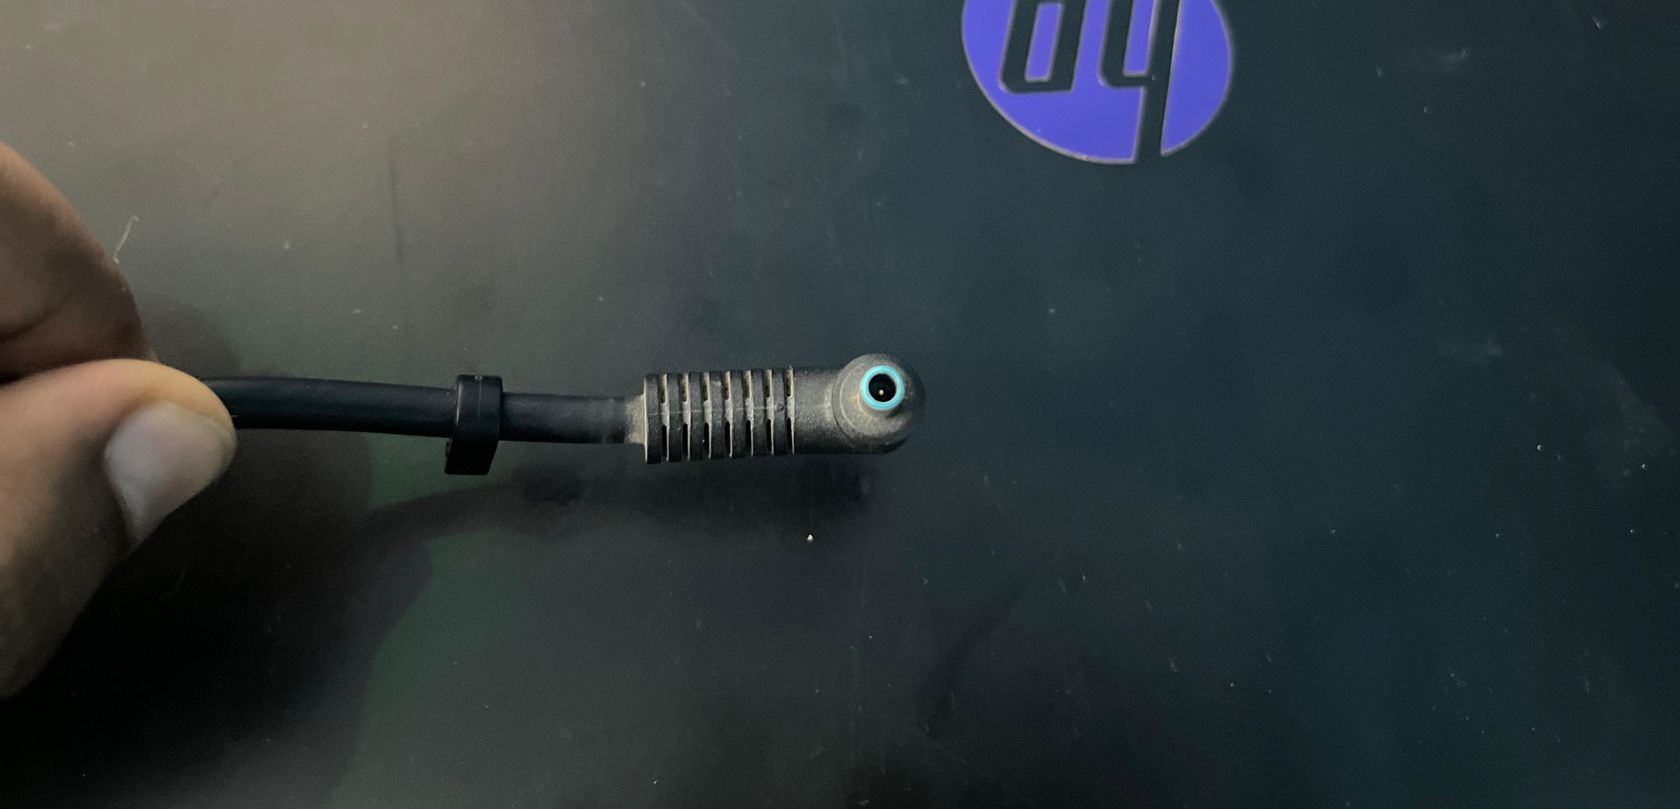
Before taking any major steps, the first thing you should check is whether the power cord is securely connected to the adapter brick. If the connection is loose, the adapter brick will not receive power, preventing your laptop from charging.
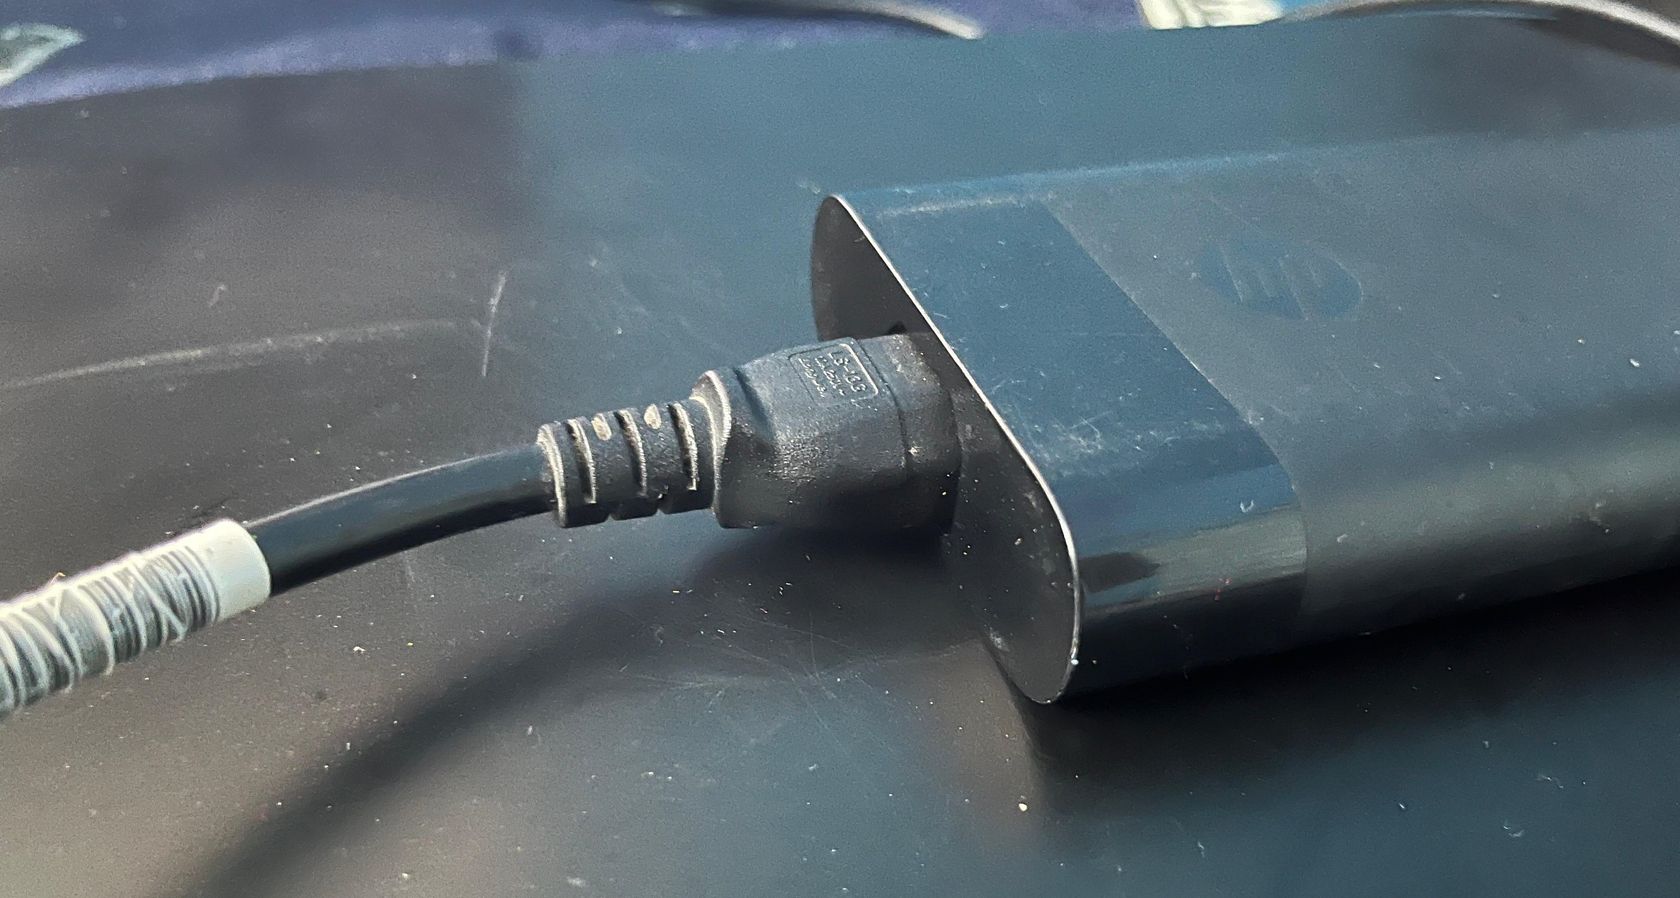
Aman Kumar / How-To Geek
If you find that the power cord is loosely connected to the adapter brick, apply gentle pressure to firmly insert it into the adapter. Alternatively, you can unplug the power cord completely and then plug it back in again.
2. Connect the Laptop Adapter to a Different Socket
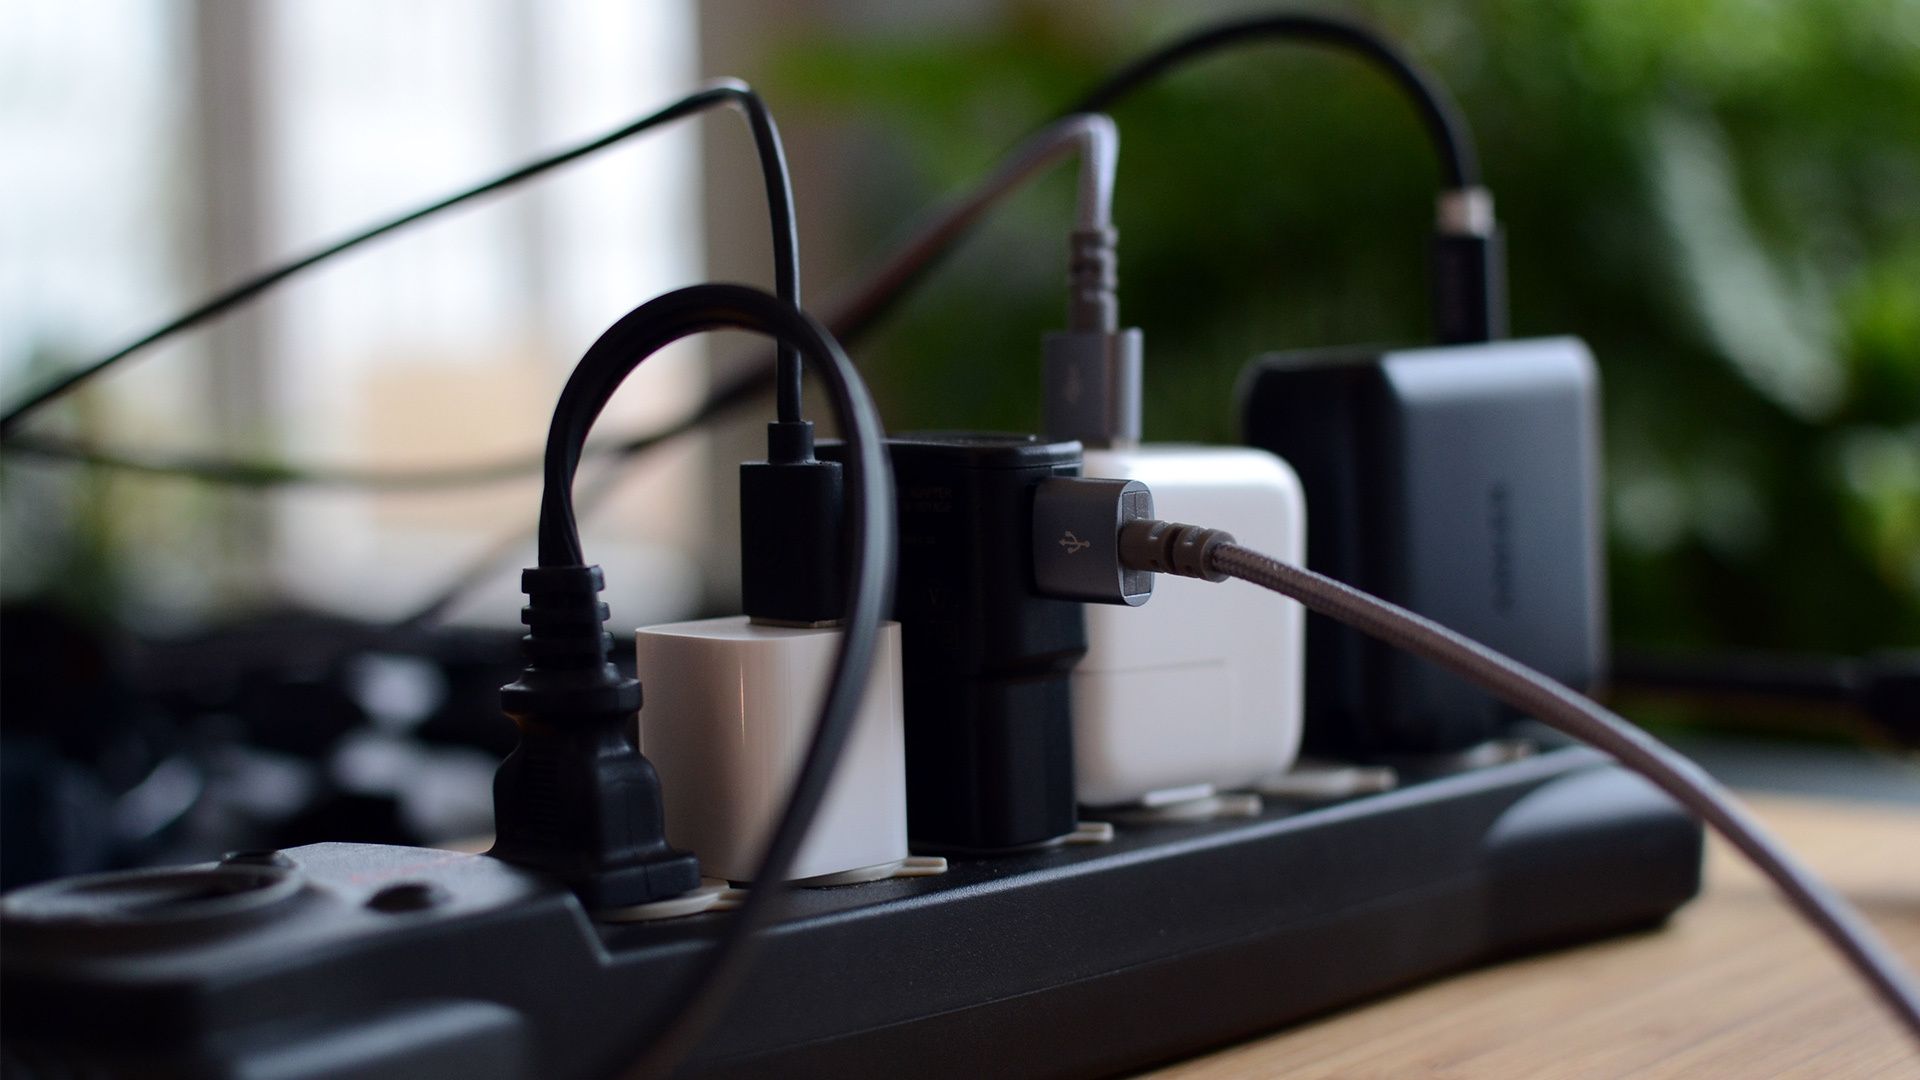
Jason Fitzpatrick / How-To Geek
Your laptop may not charge if the socket in which the adapter plug is currently connected is not functioning. To verify this, insert the adapter plug into a different socket and check if your laptop starts charging. If it does, this confirms that the original socket or its corresponding switch is not working. You can contact an electrician, in this case, to have this socket repaired.
3. Use the Original Charger
You should also ensure that you’re using the original charger that came with your laptop for optimal charging. While third-party chargers may advertise fast charging or other advantages, they often end up harming the device.
For instance, using a counterfeit charger that claims fast charging on a laptop that doesn’t support it can damage the battery by providing incorrect power levels. Similarly, if you try to charge your laptop that supports USB-C charging with a smartphone charger, then you’re likely to encounter charging issues, as the power supply from a smartphone charger is typically lower than what a laptop requires.
Counterfeit chargers often charge laptops at an extremely slow pace or, in some cases, not charge at all. If your original laptop charger is malfunctioning, opt to purchase the same model charger directly from the laptop manufacturer online or in-store instead of resorting to a third-party charger.
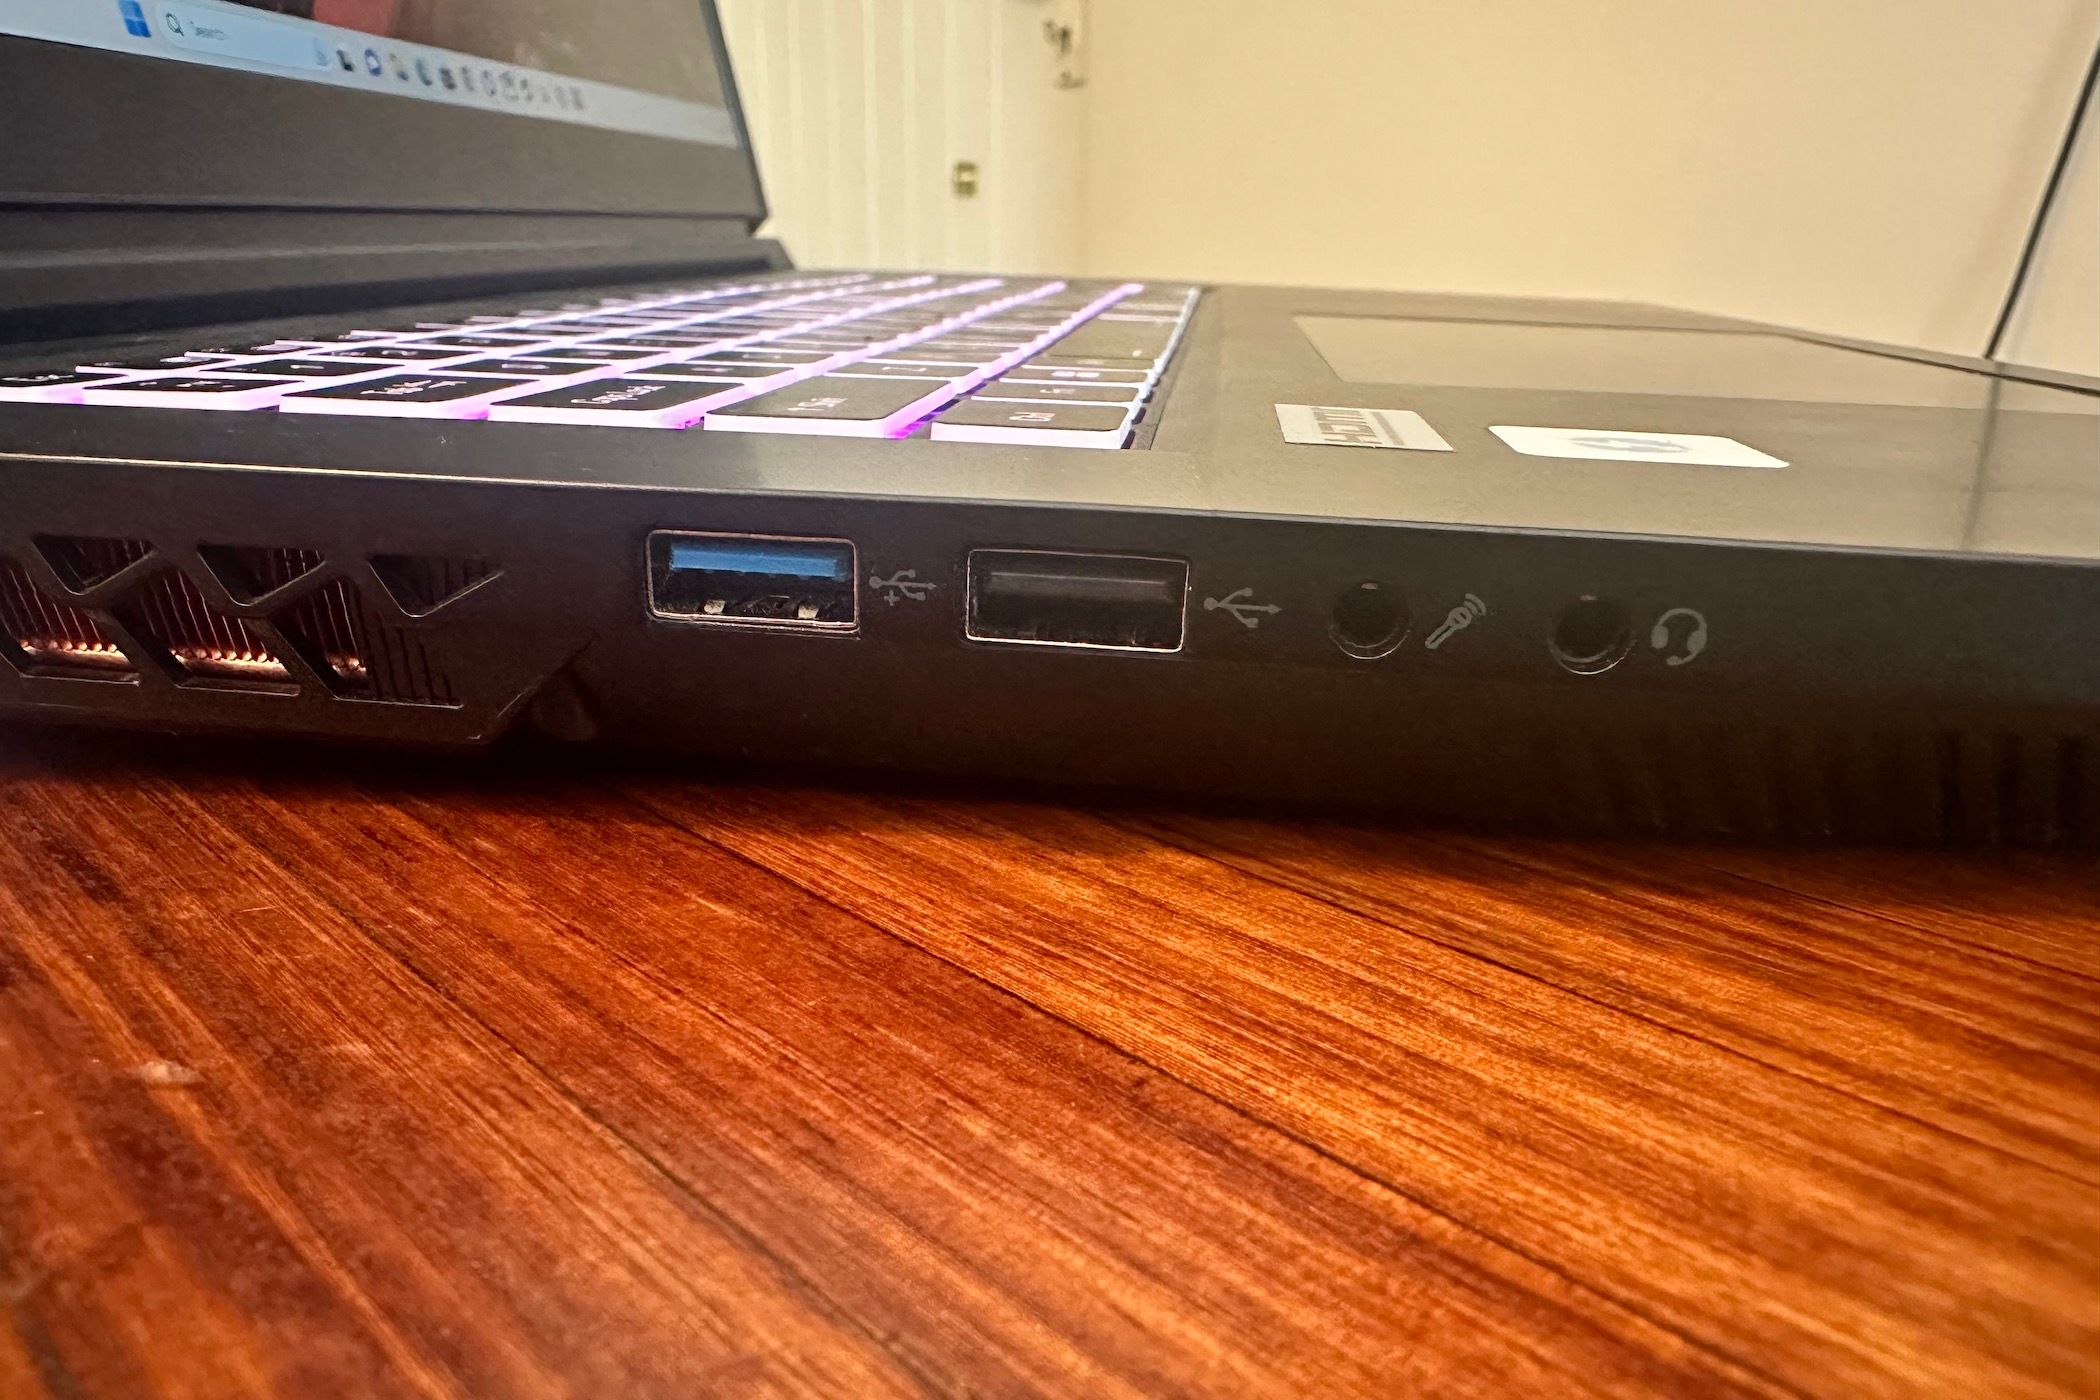
4. Examine the Charging Port and Pin
If your laptop is still not charging, you should carefully examine your laptop’s charging port for any dust or debris that might have accumulated inside. If any dust or debris is present, it will prevent the charger from supplying power to your laptop, ultimately causing the issue at hand.
Aman Kumar / How-To Geek
You can use a toothpick to clean the grime. However, be very gentle while cleaning, as the charging ports are very sensitive, and you might damage them if you try to remove the grime too harshly. You can also use canned air if necessary.
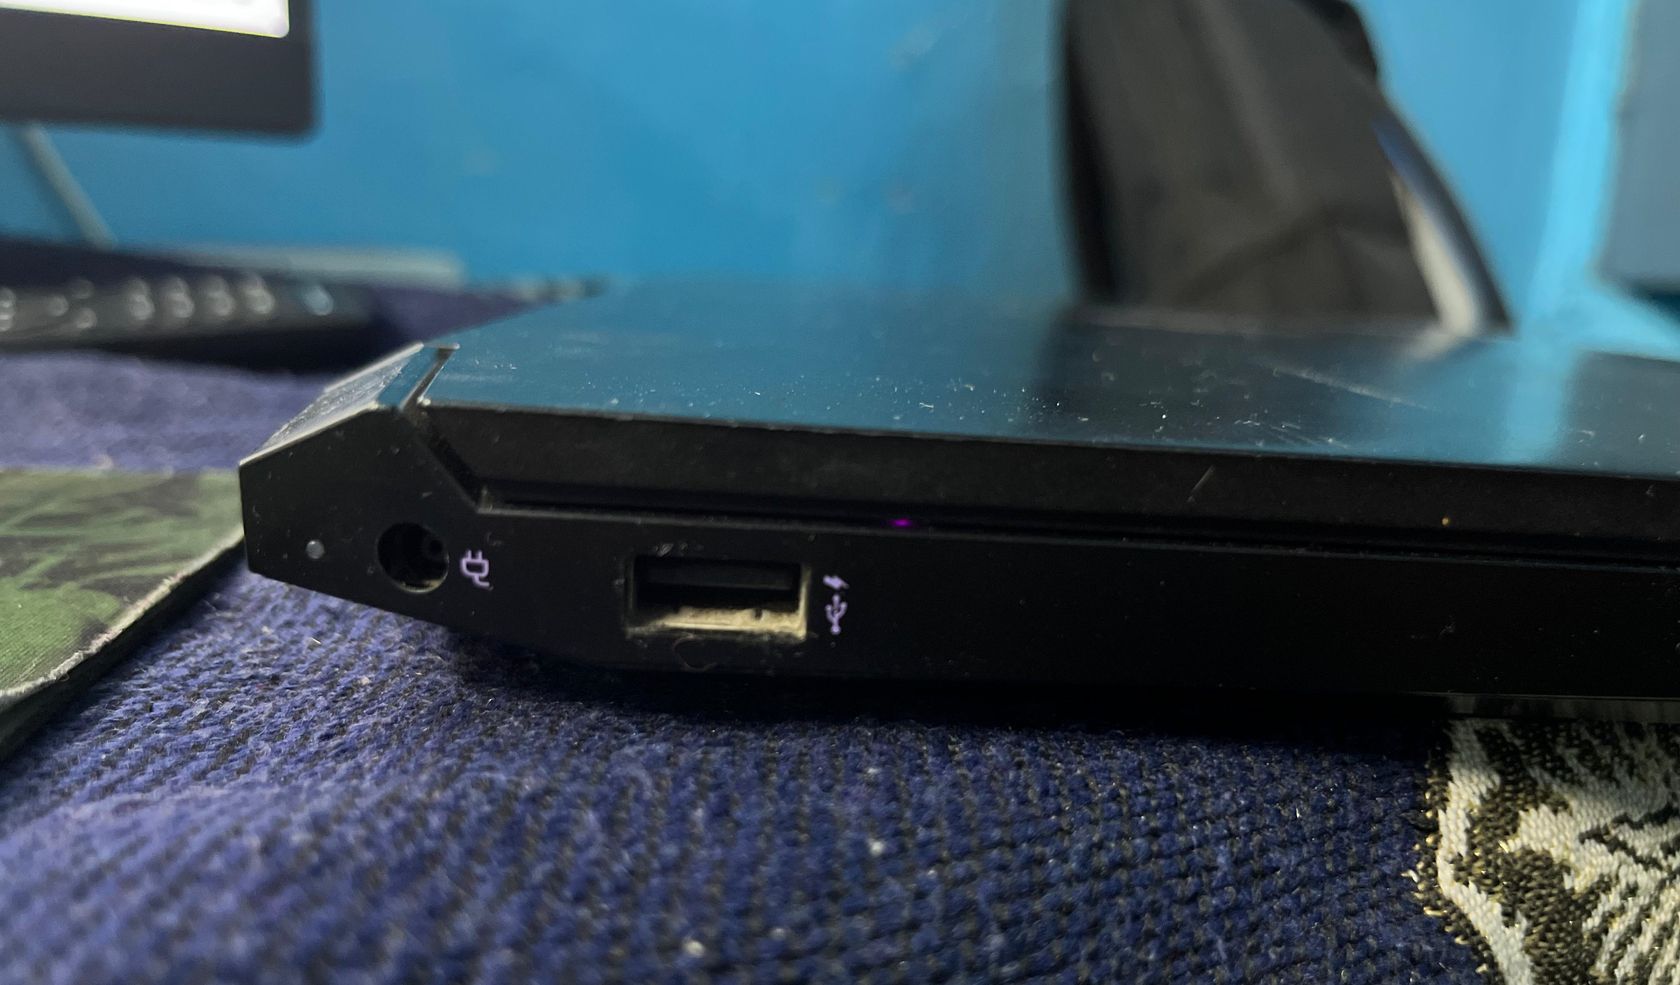
You should also carefully check the charging pin. Oftentimes, the charging pin will break due to uneven pressure or being inserted into the wrong port.
Aman Kumar / How-To Geek
If the charging pin is broken, you can easily cut the pin and connect a new one. However, if you don’t feel confident in cutting and changing the pin yourself, you should contact an expert to do it.
5. Allow Your Laptop to Cool Down
The issue can also arise if your laptop has overheated . Your laptop may have overheated if you’ve been engaged in CPU- and GPU-intensive tasks. In such cases, your laptop may intentionally halt the charging process to safeguard your battery.
As it turns out, lithium-ion or lithium-polymer batteries can start to degrade if you try to charge them at high temperatures. Additionally, charging a laptop when it’s overheated can increase the risk of battery explosions . To prevent these scenarios, manufacturers design laptops to automatically stop charging when the device overheats.
In this situation, there’s not much you can do. Simply shut down your laptop and allow it to cool down. Once you feel the temperature has decreased, reconnect the charger, and your laptop should start charging again.
6. Download Any Available BIOS Update
The BIOS (Basic Input/Output System) is a low-level system software that controls various hardware functions, including power management and battery charging. If your laptop is running an extremely outdated BIOS version, it might encounter difficulties correctly recognizing the AC adapter, potentially leading to the charging issue at hand. The solution, in this case, is to update the system BIOS.
Unfortunately, there is no one-size-fits-all set of instructions to update BIOS as different manufacturers have different methods. However, the general rule of thumb is to visit your motherboard manufacturer’s website, access your motherboard model’s downloads or support page, and then download the available BIOS update. You can check our guide on how to update your BIOS for more information about the updating process.
7. Reinstall the Battery Drivers
Windows relies on the battery driver to maintain proper communication with your laptop’s battery. If the battery driver becomes corrupted due to software conflicts, hardware issues, or other factors, Windows will lose communication with the battery, leading to the problem you’re experiencing.
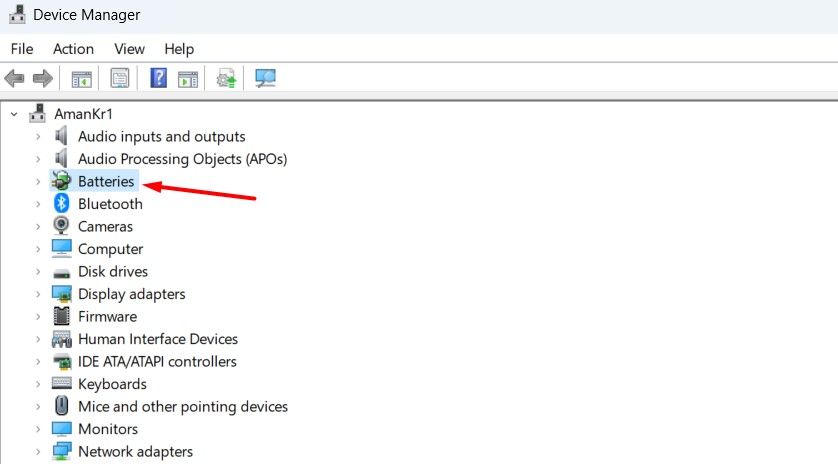
The most effective way to eliminate corruption in the battery driver is to reinstall it. To do so, press the Windows+X key and choose “Device Manager” from the list that appears. In Device Manager, double-click on the “Batteries” node to expand it.
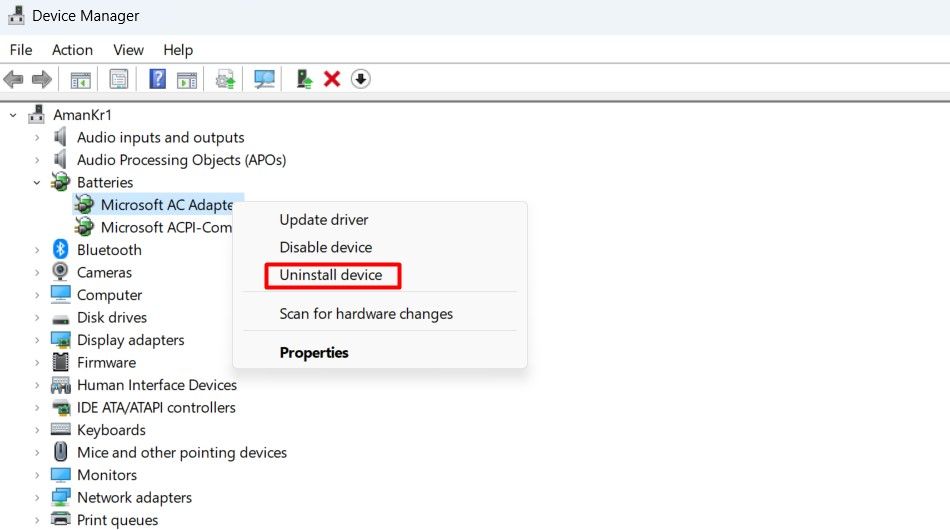
Right-click on the “Microsoft AC Adapter” driver and select the “Uninstall device” option. Similarly, uninstall the “Microsoft ACPI-Compliant Control Method Battery” driver.
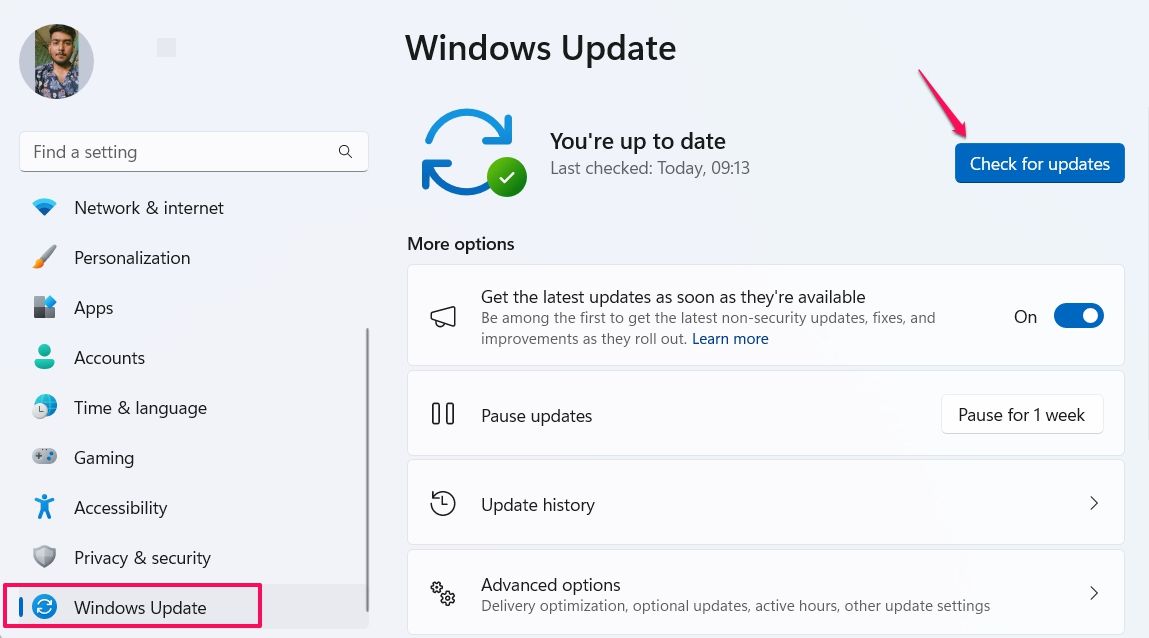
Once the drivers have been uninstalled, restart your computer . Upon restart, Windows will automatically reinstall both battery drivers. However, if it fails to reinstall them for any reason, press Windows+i to open the “Settings” app, click on “Windows Update,” and then select “Check for Updates.” Windows will now install the missing driver, which in this case is the battery driver, on your computer.
After reinstalling the driver, reconnect the charger and check if your laptop starts charging.
8. Test for a Defective Battery
Lastly, you should check to see if your laptop battery is the source of the problem. You can do this by removing the battery from your laptop and then charging your laptop.
Be sure to save any projects you’re working on before proceeding since the process involves completely cutting off power to your laptop.
If your laptop has a removable battery, simply flip it over, unscrew the screws or slide the locking tab over, and then remove the battery. However, if you aren’t confident or don’t know how to remove the battery, you should check your laptop’s manual or search online for specific instructions on how to remove the battery from your laptop model.
After removing the battery, it’s a good idea to press and hold the power button for about 15 seconds to discharge any remaining power in your laptop. Then, plug in the charger to your laptop and try turning it on without the battery inserted.
If your laptop turns on, this indicates that the problem is likely due to an issue with the battery compartment or the battery itself. Carefully inspect the battery compartment for dirt or debris and remove it using a microfiber cloth. Then, reinsert the battery and make sure all cables are securely connected. If your laptop still fails to start, this indicates that the battery is dead, and you will need to replace it.
Confirming this possibility on a laptop with a non-removable battery is more complicated. This is because you’ll need to open the machine to access the battery. Doing so could not only damage important components if done incorrectly but may also void your laptop’s warranty.
Aman Kumar / How-To Geek
So, if your laptop has a non-removable battery, we recommend you take it to a qualified technician who can safely examine the battery and remove it if necessary. The technician will tell you if you should replace your battery or perform any other fix.
Hopefully, these solutions were helpful, and your laptop is now charging without any issues. Once your laptop has resumed normal charging, you should make some changes to your Windows settings to extend your laptop’s battery life .
Also read:
- [New] The Ultimate Guide to Non-Contact Sensing
- [New] Unlock Creative Potential Adding Text to Windows/Mac Images
- [New] Unraveling the Mechanics Auto-Play YourTube Videos on FB Platform for 2024
- [Updated] Digital Delights The Finest 15 Comedic Channels on YouTube for 2024
- [Updated] In 2024, Quick Guide Extracting Specific Segments From YouTube
- 2024 Approved Top-Tier MKV Players MacOS Edition
- 2024 Approved Ultimate PDF Editing Skills
- Final Cut's Ultimate 10 Plug-In Essentials List
- In 2024, Sim Unlock Vivo V30 Lite 5G Phones without Code 2 Ways to Remove Android Sim Lock
- In 2024, Top 5 Underwater Gopro Accessories
- In 2024, Unlocking Made Easy The Best 10 Apps for Unlocking Your Vivo V29 Pro Device
- Learning Legends Esteemed Ed Streams Online
- Seamless Transition From Photography to Video with Pixiz for 2024
- The Definitive VivaCut Video Editing Manual for '24 for 2024
- Ultimate Adventure Awaits in Today's MMOs
- Why Is My Samsung Galaxy A23 5G Offline? Troubleshooting Guide | Dr.fone
- Title: Essential Steps for Troubleshooting a Laptop That Stays Uncharged, Even with the Power Cord Attached
- Author: Christopher
- Created at : 2025-01-04 01:52:27
- Updated at : 2025-01-10 00:15:51
- Link: https://some-approaches.techidaily.com/essential-steps-for-troubleshooting-a-laptop-that-stays-uncharged-even-with-the-power-cord-attached/
- License: This work is licensed under CC BY-NC-SA 4.0.